Transforming Images On Your IPhone: A Guide To Creating Striking Before And After Visuals
Transforming Images on Your iPhone: A Guide to Creating Striking Before and After Visuals
Related Articles: Transforming Images on Your iPhone: A Guide to Creating Striking Before and After Visuals
Introduction
With enthusiasm, let’s navigate through the intriguing topic related to Transforming Images on Your iPhone: A Guide to Creating Striking Before and After Visuals. Let’s weave interesting information and offer fresh perspectives to the readers.
Table of Content
- 1 Related Articles: Transforming Images on Your iPhone: A Guide to Creating Striking Before and After Visuals
- 2 Introduction
- 3 Transforming Images on Your iPhone: A Guide to Creating Striking Before and After Visuals
- 3.1 Understanding the Importance of Before and After Images
- 3.2 Harnessing the Power of the iPhone Camera
- 3.3 Leveraging the iPhone’s Editing Power
- 3.4 Creating Impactful Visuals: Tips for Success
- 3.5 Frequently Asked Questions (FAQs)
- 3.6 Conclusion
- 4 Closure
Transforming Images on Your iPhone: A Guide to Creating Striking Before and After Visuals
In the realm of visual communication, conveying transformation effectively is crucial. Whether showcasing a renovation project, a weight loss journey, or a dramatic style change, compelling before and after images hold immense power. Thankfully, the iPhone, with its versatile camera and editing capabilities, empowers users to create professional-looking before and after visuals right from their pocket. This article delves into the methods and strategies for crafting impactful before and after pictures on your iPhone, empowering you to tell compelling visual stories.
Understanding the Importance of Before and After Images
Before and after images are more than just side-by-side comparisons. They serve as powerful visual narratives, demonstrating change, progress, and the impact of a specific action or process. Their efficacy stems from their ability to:
- Showcase Transformation: Visually demonstrating the difference between two states, be it a physical change, a design improvement, or a product upgrade, creates a compelling visual narrative that resonates with viewers.
- Enhance Credibility: Before and after images provide concrete evidence of a transformation, lending credibility to claims and fostering trust in the presenter.
- Increase Engagement: The visual contrast between the "before" and "after" states captures attention, sparking curiosity and encouraging viewers to delve deeper into the story.
- Drive Action: By showcasing the positive results of a particular approach, before and after images can motivate viewers to take action, whether it’s purchasing a product, adopting a new technique, or seeking a specific service.
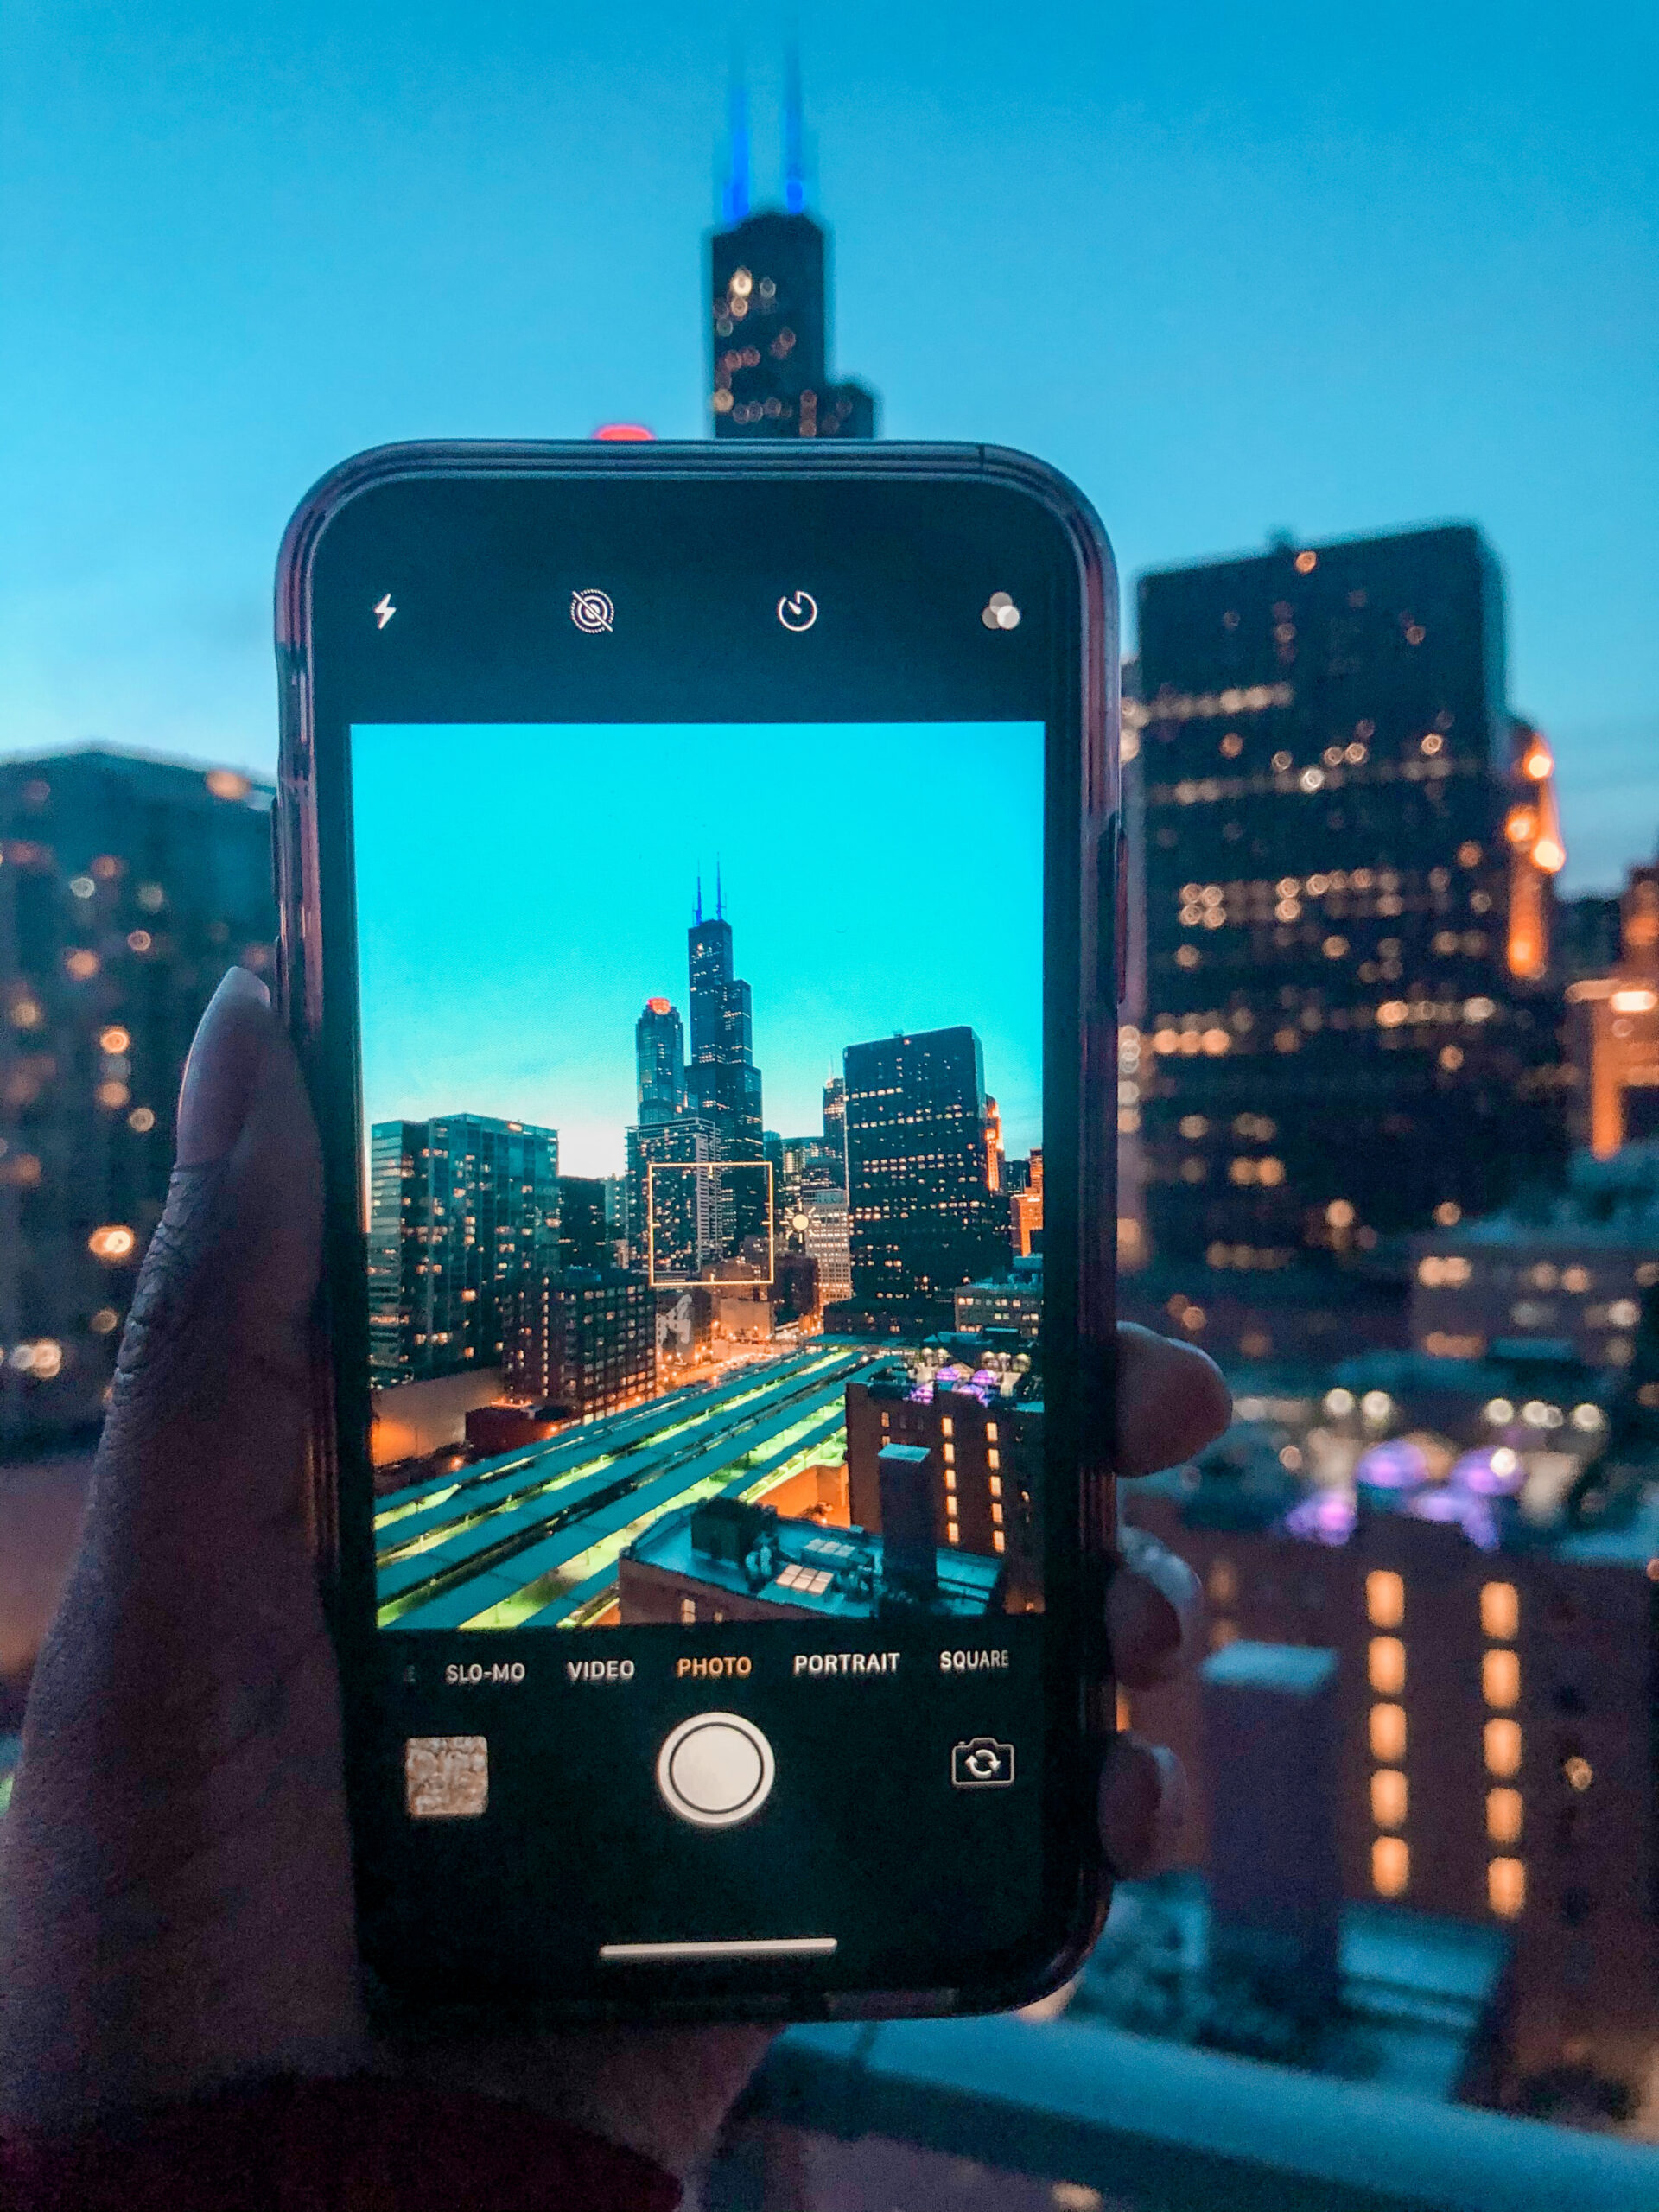
Harnessing the Power of the iPhone Camera
The iPhone’s camera, renowned for its quality and versatility, is the foundation for capturing stunning before and after images. Here’s a breakdown of key aspects:
1. Lighting: Consistent lighting is paramount. Ensure both images are taken under similar lighting conditions, minimizing discrepancies in color and brightness. Natural light, when available, is ideal.
2. Composition: Maintain identical framing and angles for both pictures. Use the iPhone’s gridlines to ensure straight lines and consistent positioning of the subject.
3. Perspective: For maximum impact, capture both images from the same viewpoint. This consistency ensures an accurate portrayal of the transformation.
4. Focus: Ensure both images are in focus. Use the iPhone’s tap-to-focus feature to lock focus on the subject.
5. Resolution: Opt for the highest resolution setting available on your iPhone camera. This ensures image quality and allows for flexibility in editing.
Leveraging the iPhone’s Editing Power
The iPhone’s built-in Photos app and third-party editing apps provide a powerful toolkit for creating stunning before and after images. Here’s a comprehensive guide to editing techniques:
1. Basic Adjustments:
- Brightness and Contrast: Adjust brightness and contrast to ensure both images have similar levels of light and shadow.
- Color Correction: Use the color balance tool to adjust white balance, ensuring consistent color tones between both images.
- Exposure: Fine-tune exposure to achieve the desired level of light and shadow.
2. Advanced Editing:
- Cropping and Straightening: Use the cropping tool to remove unwanted areas and ensure straight lines in both images.
- Sharpening: Enhance details and clarity by sharpening both images subtly.
- Cloning and Healing: Use cloning and healing tools to remove distractions or imperfections from the images.
3. Layering and Merging:
- Overlaying Images: Use editing apps to overlay the "before" and "after" images, creating a split-screen effect.
- Blending Modes: Experiment with different blending modes to create a seamless transition between the two images.
- Masking: Use masks to selectively apply edits to specific areas of the image, ensuring a smooth and natural blend.
4. Utilizing Third-Party Apps:
- Adobe Lightroom: A comprehensive editing app offering advanced features for color correction, detail enhancement, and creative effects.
- Snapseed: A user-friendly app with a wide range of editing tools, including cropping, straightening, and selective adjustments.
- PicsArt: A versatile app with advanced features for creating collages, adding text, and applying artistic effects.
Creating Impactful Visuals: Tips for Success
To elevate your before and after images beyond mere comparisons, consider these tips:
- Choose the Right Subject: Select a subject that demonstrates a clear and impactful transformation.
- Focus on the Key Difference: Highlight the most significant change in the "after" image, drawing attention to the transformation.
- Maintain Consistency: Ensure that the before and after images are consistent in terms of lighting, composition, and perspective.
- Use a Strong Call to Action: If applicable, include a call to action that encourages viewers to take the next step.
- Tell a Story: Use the images to tell a compelling narrative about the transformation process.
- Experiment with Layouts: Explore different layouts and arrangements for the before and after images to maximize visual impact.
Frequently Asked Questions (FAQs)
Q: How do I ensure the before and after images are truly comparable?
A: Maintain consistent lighting, composition, and perspective. Avoid making significant changes to the subject between the two shots, such as changing its position or lighting conditions.
Q: What are the best editing apps for creating before and after images?
A: Adobe Lightroom, Snapseed, and PicsArt are popular choices offering a wide range of editing features. Explore different apps to find one that suits your needs and skill level.
Q: Can I create a before and after video on my iPhone?
A: Yes, using the iPhone’s built-in video editing capabilities or third-party video editing apps, you can create a dynamic before and after video showcasing the transformation over time.
Q: How can I make my before and after images more visually appealing?
A: Experiment with different layouts, use color correction tools to enhance the contrast between the images, and consider adding text or graphics to highlight key changes.
Conclusion
Creating compelling before and after images on your iPhone is a powerful tool for visual communication. By mastering the fundamentals of photography, editing, and visual storytelling, you can transform simple images into impactful narratives that showcase change, inspire action, and leave a lasting impression. Whether you’re showcasing a home renovation, a personal transformation, or a product improvement, harnessing the power of your iPhone to create before and after visuals can elevate your communication and captivate your audience.


Closure
Thus, we hope this article has provided valuable insights into Transforming Images on Your iPhone: A Guide to Creating Striking Before and After Visuals. We thank you for taking the time to read this article. See you in our next article!